
Installing Tesla wheel covers is one of the fastest, most affordable ways to refresh your car’s look and protect your factory wheels from curb rash, brake dust, and road debris. Unlike replacing wheels entirely, a quality set of wheel covers can be fitted at home in under an hour with no special tools. If you have never done it before, this guide walks you through every step so you get a secure, rattle-free fit the first time.
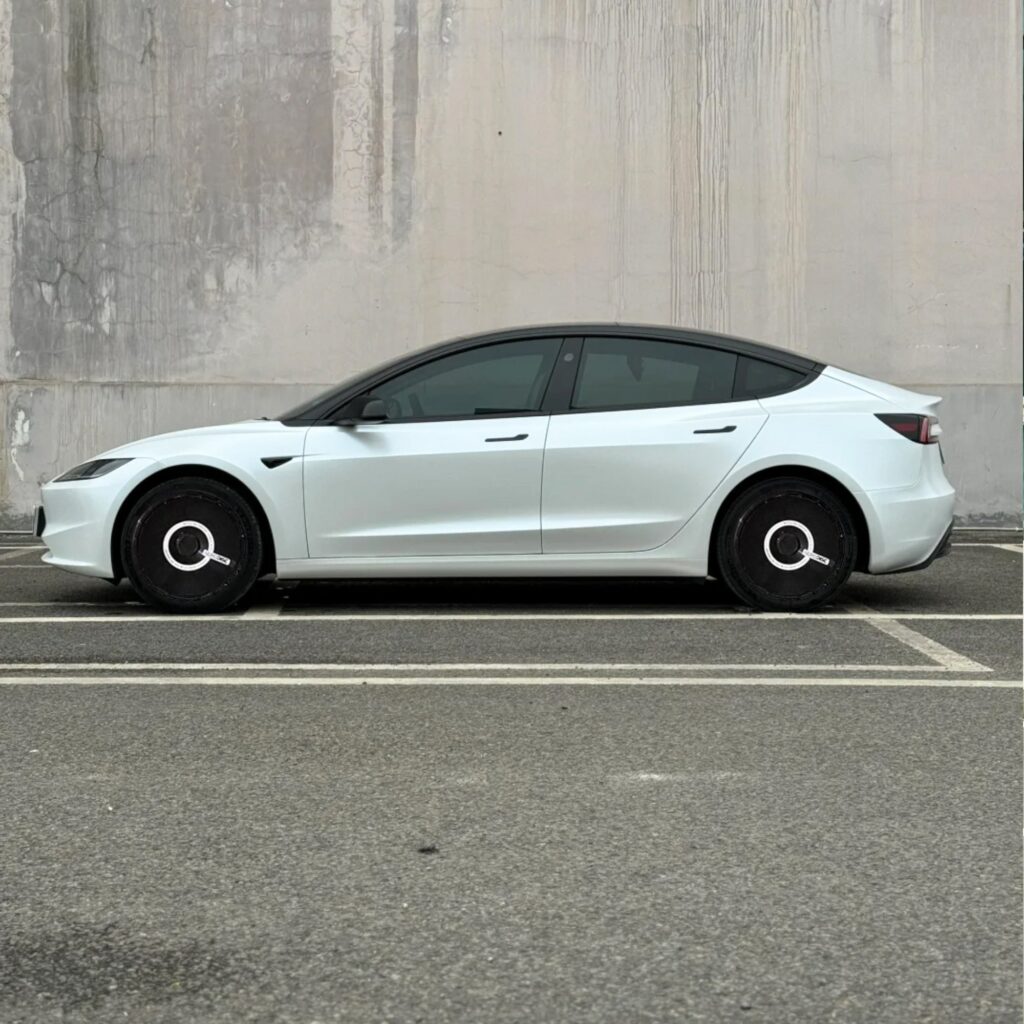
What You Need Before You Start
Good news: you do not need a mechanic or a lift. Gather these simple items first:
- A clean, flat parking surface and a wheel chock or parking brake engaged
- A soft microfiber cloth and mild cleaner for the wheel surface
- A trim tool or plastic pry bar if you are removing factory covers
- Your new Tesla wheel covers and the vehicle’s own lug wrench (in case you need to check torque)
Always install on a cold or cool wheel. Freshly driven wheels can be hot enough to soften the plastic trim and make the covers harder to seat correctly.
Step 1: Prepare Your Tesla
Park on level ground, apply the parking brake, and turn the steering wheel so you can access each wheel comfortably. Clean the wheel face and the edge of the tire bead area with a microfiber cloth so no dirt or grit sits between the cover and the wheel. Even a small piece of gravel can cause a wobble or a scratch over time.
Step 2: Remove Existing Aero Covers or Hubcaps
Most Tesla models ship with factory aero covers held in place by clips. To remove them, gently insert a trim tool at the edge and work your way around, pulling steadily rather than yanking. If your car has traditional hubcaps, the same technique applies. Set the factory covers aside somewhere safe in case you want to swap back later.
If you are covering alloy wheels directly, skip this step, but do a quick check for any damage or loose trim that could interfere with the fit.
Step 3: Align the New Wheel Cover
Position the cover so any cutouts for valve stems or brake calipers line up with the corresponding parts on your wheel. A common mistake is installing covers rotated 180 degrees, which makes the valve stem hard to reach for pressure checks. Take a second to align the design, then press the cover into place at the center first, moving outward in a star pattern, the same way you would tighten lug nuts.
Step 4: Seat and Test Each Cover
Once the cover is resting on the wheel, press firmly around the entire rim edge with the palms of your hands until you hear the clips click into place. Never use your foot or a hammer; you can crack the plastic or bend the retaining clips. After fitting all four covers, take the car for a short drive and listen for any clicking or flapping. If a cover feels loose, remove it and reseat it carefully.
Common Installation Mistakes to Avoid
- Skipping the prep clean – trapped grit causes scratches and poor seating.
- Forcing the cover – if it will not seat, check the alignment instead of pushing harder.
- Covering the valve stem – always confirm the valve opening is aligned before final press.
- Ignoring a loose fit – a rattle you hear at low speed will only get worse on the highway.
How to Maintain Your Tesla Wheel Covers
Wheel covers are low maintenance but benefit from a little care. Wash them with a soft sponge and mild soap, avoid harsh tire cleaners that can dull the finish, and re-check the seating after tire rotations or seasonal tire changes. In areas with heavy winter salt, a quick rinse after road trips keeps the clips and finish in good shape.
Do Wheel Covers Affect Range?
Yes, and usually in a positive way. Smooth aerodynamic covers reduce turbulence around the wheels, which can improve highway efficiency. If you drive mostly on motorways, pairing quality covers with sensible driving habits is one of the cheapest efficiency upgrades available. For a deeper look at how airflow affects your range, read our guide on reducing wind resistance at high speed.
Frequently Asked Questions
Are Tesla wheel covers easy to install yourself?
Yes. With basic alignment and firm hand pressure, most covers install in about 10-15 minutes per wheel and need no tools. Just follow the clip seating sequence above.
Will wheel covers damage my Tesla wheels?
No. Quality covers use soft inner edges and clip onto the wheel rim without touching the paint. Preparing the surface properly prevents trapped dirt from scratching the finish. Learn more about protecting your wheels in our Tesla wheel protection guide.
Can I still check my tire pressure with covers installed?
Yes, as long as the valve stem cutout is aligned during installation. If your car uses a TPMS system, it keeps working normally with covers fitted.
Upgrade Your Wheels the Easy Way
Installing wheel covers is a 30-minute weekend project that protects your wheels and transforms the look of your Tesla. Browse the full collection of Tesla wheel covers, or go fully custom with our DIY custom wheel covers to match your style exactly. If you are also planning a bigger visual upgrade, take a look at how to upgrade your vehicle’s look and performance.
You may also like: Both the Classic and Street Sport covers use the same push-and-lock method shown above.